

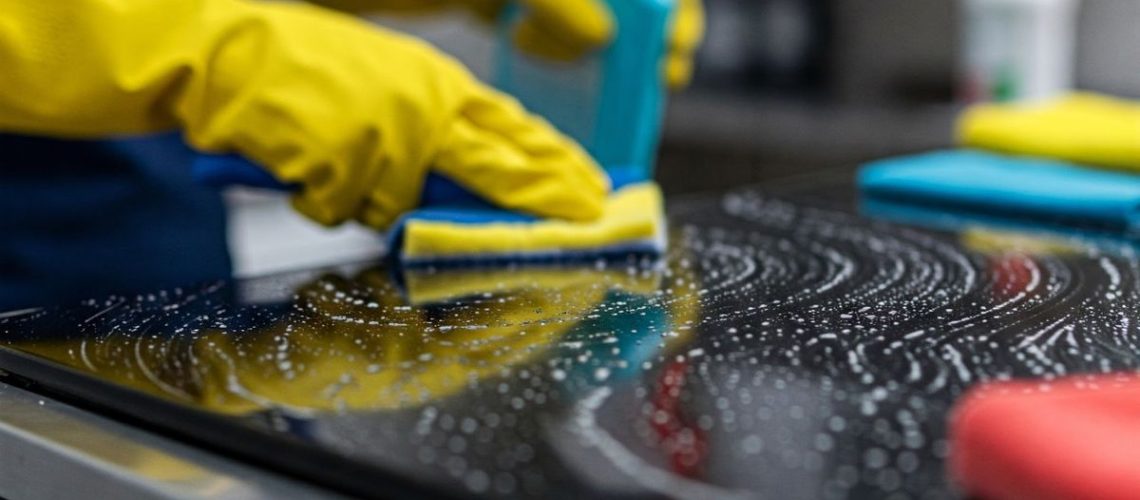
A clean kitchen does more than make your home look beautiful.
It protects your food, reduces unpleasant odours and creates a healthier environment for everyone. However, keeping your kitchen spotless can feel overwhelming when grease builds up around the cooker, crumbs hide beneath appliances and dirty dishes accumulate in the sink.
Professional cleaners approach kitchen cleaning differently. Rather than scrubbing everything randomly, they follow an organised routine that saves time and delivers better results. They also use the right cleaning products, pay attention to overlooked areas and work from top to bottom.
The good news is that you do not need expensive equipment to achieve similar results. With the right techniques, you can learn how to clean your kitchen like a professional cleaner and maintain a fresh, hygienic space every day.
1. Gather Your Cleaning Supplies
Before you begin, collect everything you need. Moving between rooms to find cleaning products wastes time and interrupts your progress.
Your basic cleaning kit should include:
- Microfibre cloths for wiping surfaces.
- A soft sponge and a non-abrasive scrubber.
- Dishwashing liquid and a suitable kitchen degreaser.
- A multipurpose cleaner appropriate for your surfaces.
- A small brush for corners and narrow spaces.
- A mop, bucket and broom or vacuum cleaner.
- Rubber gloves and clean rubbish bags.
Choose products according to the surfaces you intend to clean. For example, natural stone countertops may require a specially formulated cleaner, while stainless steel benefits from a suitable, non-abrasive product.
Never mix cleaning chemicals, particularly bleach with ammonia or acidic cleaners. These combinations can release dangerous gases. Always follow product labels and ventilate the kitchen properly.
2. Declutter Before Cleaning
Professional cleaners rarely begin by wiping around piles of kitchen items. Instead, they create enough space to work efficiently.
Start by removing dirty plates, cups, cooking utensils and food packaging from countertops. Put away items that belong in cupboards and discard expired food or unnecessary packaging.
Next, empty the rubbish bin if it is full. Check the sink and clear away leftover food that could cause unpleasant smells.
This simple step makes every subsequent task easier. It also helps you identify areas that need special attention, including sticky patches, food spills and grease marks.
If your kitchen contains many appliances, keep only the ones you use regularly on the countertop. A less cluttered workspace is easier to clean and maintain.
3. Clean From Top to Bottom
One of the most important professional cleaning techniques is working from higher surfaces towards lower ones. Dust, crumbs and cleaning residue naturally fall as you work.
Begin with ceiling corners, light fittings and the tops of cabinets where dust often collects. Use a suitable duster or a slightly damp microfibre cloth, taking care around electrical fixtures.
Next, wipe cabinet doors, shelves and accessible wall surfaces. Pay particular attention to the areas above the cooker, where airborne cooking oils can settle.
Continue with countertops and appliances before finishing with the floor. This sequence prevents you from having to clean the same area twice.
Remember to use a stable step stool when necessary. Avoid standing on kitchen chairs or countertops to reach elevated surfaces.
4. Remove Grease From the Cooker and Backsplash
Cooking grease is one of the most stubborn kitchen cleaning problems. Heat causes oil to stick to surfaces, while repeated cooking allows residue to accumulate.
To clean your cooker, switch it off and allow it to cool completely. Remove detachable burner grates and other removable parts according to the manufacturer’s instructions.
Apply an appropriate degreaser or warm water mixed with dishwashing liquid. Allow the product to sit for the recommended time before wiping away loosened grease. Use a soft brush for difficult corners, then wipe the surface with a clean, damp cloth.
For the backsplash, pay special attention to the area directly behind the cooker. Grease frequently collects around tiles, grout lines and nearby switches.
Avoid abrasive pads on delicate finishes, and never spray liquids directly into electrical components. Dry the cleaned surfaces afterwards to prevent streaks and moisture buildup.
5. Clean Countertops, Cabinets and the Sink
Countertops come into contact with food, utensils and grocery bags throughout the day. Therefore, they deserve careful attention.
Remove everything from the surface before cleaning. Wipe away crumbs, apply a suitable cleaner and follow the manufacturer’s instructions. If the surface requires rinsing, use a clean cloth and fresh water.
For food preparation areas, distinguish between cleaning and sanitising. Cleaning removes dirt and grease, while sanitising reduces germs to an appropriate level. Use a food-contact-safe sanitiser when needed, following its label for contact time.
Next, wipe cabinet handles, drawer pulls and frequently touched cupboard doors. These areas collect oil from hands and often remain dirty even when the kitchen looks clean.
Finally, scrub the sink with a suitable cleaner, paying attention to the drain area, taps and edges. Rinse thoroughly and wipe dry. Never mix bleach with other cleaning products when treating sink stains.
6. Clean Appliances Inside and Out
Kitchen appliances need regular attention because food residue and moisture can accumulate inside them.
For the microwave, place a microwave-safe bowl of water inside and heat it until steam loosens dried food. Allow it to cool enough to handle safely, then wipe the interior with a soft cloth. Follow the manufacturer’s instructions and avoid immersing electrical components.
Clean the refrigerator by removing spoiled food and wiping shelves with an appropriate cleaner. Store perishable food safely while cleaning, and dry shelves before replacing items.
For the kettle, follow the manufacturer’s descaling instructions. Clean the exterior of the toaster and empty its crumb tray only when it is unplugged and cool.
Remember the refrigerator handles, appliance buttons and other frequently touched surfaces. These small details help give your kitchen a professionally cleaned appearance.
7. Finish With the Floor and Rubbish Bin
Leave the floor until last so that falling dust and crumbs do not undo your earlier work.
First, sweep or vacuum the entire floor, including corners and the spaces beneath accessible appliances. Move lightweight items where practical, and use an appropriate attachment to reach narrow gaps.
Next, mop with a suitable floor cleaner. Avoid excessive water on wooden floors and other moisture-sensitive materials. Change dirty mop water when necessary instead of spreading grime around the kitchen.
Clean the rubbish bin by emptying it, washing the interior with an appropriate product and allowing it to dry before inserting a fresh liner. Wipe the lid and surrounding area as well.
These finishing steps remove the dirt that often remains after an otherwise thorough cleaning session.
8. Maintain a Professional Cleaning Routine
A spotless kitchen is easier to achieve when you prevent dirt from accumulating.
After cooking, wash used utensils, wipe spills immediately and clean food preparation surfaces. Empty the rubbish bin before it begins to smell, and rinse the sink after washing dishes.
Once a week, clean appliance exteriors, wipe cabinet handles, mop thoroughly and inspect the refrigerator for expired food. Schedule deeper cleaning for areas such as extractor filters, cabinet interiors and spaces behind movable appliances, following manufacturer instructions.
You can also divide larger tasks across several days. For example, clean the refrigerator on Monday, wipe cabinet fronts on Wednesday and tackle difficult grease deposits on Saturday.
This approach reduces the pressure of completing every task at once.
Conclusion
Learning how to clean your kitchen like a professional cleaner comes down to preparation, the right products and a consistent routine. By decluttering first, working from top to bottom, removing grease correctly and finishing with the floor, you can achieve excellent results without unnecessary effort.
More importantly, regular maintenance prevents dirt from becoming difficult to remove. A few minutes of daily cleaning, combined with a weekly deep-cleaning routine, can keep your kitchen fresh, organised and ready for everyday cooking.
You do not need to clean everything perfectly every day. Instead, focus on the areas that affect hygiene most and build habits that make a clean kitchen easier to maintain.
