

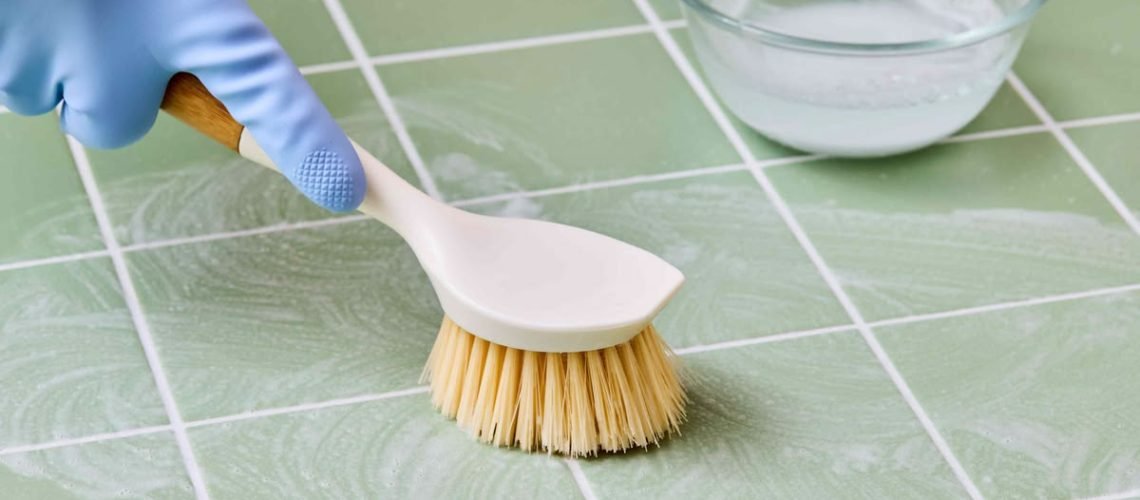
Dirty tiles and discoloured grout can make an otherwise clean home look neglected.
Kitchen floors may collect grease, bathroom walls can develop soap residue and grout lines may gradually turn dark from dirt, moisture and everyday foot traffic.
The good news is that you do not always need expensive equipment or aggressive chemicals to improve their appearance. Start by identifying the tile and grout materials, removing loose dirt, using a suitable cleaner and scrubbing gently. The right method can restore a cleaner appearance while protecting the surfaces from scratches and chemical damage.
However, not every stain can be removed through cleaning. Crumbling grout, loose tiles, persistent dampness and deep structural discolouration may require repair rather than another round of scrubbing.
At a Glance: What to Use for Different Tile Problems
| Problem | Sensible starting point |
|---|---|
| Everyday dust and dirt | Sweep or vacuum, then use a suitable neutral cleaner |
| Greasy kitchen tiles | Use a tile-compatible degreasing cleaner |
| Dirty grout lines | Use a grout-safe cleaner and soft brush |
| Soap residue | Use a cleaner approved for the tile material |
| Mild surface discolouration | Clean gently, rinse and dry |
| Persistent mould or dampness | Address the moisture source and seek appropriate treatment |
| Crumbling or missing grout | Repair or regrout instead of repeatedly scrubbing |
Before applying any cleaning product, check the tile manufacturer’s guidance. Ceramic, porcelain, natural stone and other finishes do not all respond to the same chemicals.
1. Identify Your Tile and Grout Before Cleaning
The first step is understanding what you are cleaning. A product that works on one surface may damage another.
Ceramic tiles usually have a protective surface glaze and are commonly used on floors, walls and kitchen backsplashes. Many tolerate routine cleaning with a mild, compatible household cleaner.
Porcelain tiles are generally dense and durable, but their finish still matters. Polished porcelain may show scratches or dull patches if you use an abrasive product.
Natural stone tiles, such as marble, limestone and some travertine, need special care. Acidic cleaners, including vinegar and some descaling products, can etch or dull calcium-based stone.
Grout is the material that fills the gaps between tiles. Cement-based grout is porous and can absorb dirt and moisture. Epoxy grout behaves differently and may require products approved by its manufacturer.
If you are unsure what type of tile you have, check the installation information or ask the supplier. Do not experiment with strong chemicals on an expensive floor.
2. Prepare the Area Before Applying Cleaner
Cleaning is easier when you remove loose dirt first. Sweep or vacuum the floor to remove dust, hair, sand and other particles. If you wet the surface before removing grit, you may spread dirt around or scratch some finishes while scrubbing.
Move small furniture, bathroom mats, bins and other objects out of the way. Protect nearby fabrics and belongings from splashes.
Open windows and doors to improve ventilation. Wear suitable gloves, especially when using commercial cleaning products. Keep children and pets away from the wet area.
Read the cleaner’s label before use. Check whether it is suitable for your tile type, how long it should remain on the surface and whether you need to rinse it afterwards.
If you plan to use a new product, test it on a small, inconspicuous area first. Allow the test patch to dry so you can check for dullness, colour changes or surface damage.
3. Remove Everyday Dirt From the Tiles
Start with the least aggressive method that can do the job.
For most routine cleaning on compatible glazed ceramic or porcelain tiles, warm water and a mild, suitable floor cleaner may be enough. Follow the product’s dilution instructions instead of adding extra detergent.
Use a clean mop or microfibre cloth. Change the water when it becomes visibly dirty; otherwise, you may simply spread grime from one part of the floor to another.
For walls and backsplashes, use a soft cloth or non-abrasive sponge. Work from the top down so dirty water does not run over areas you have already cleaned.
Pay attention to corners, skirting edges and areas behind appliances. These places often collect dust and grease that ordinary mopping misses.
After cleaning, rinse if the product instructions require it. Then dry the surface with a clean cloth or allow it to dry with good ventilation. Detergent residue can leave a dull film, especially when too much cleaner has been used.
4. Deal With Greasy Kitchen Tiles
Kitchen floors and backsplashes often collect cooking oil, food splashes and sticky residue. Ordinary water may not remove this build-up effectively.
Choose a degreasing product labelled as suitable for your tile and grout. Apply it according to the manufacturer’s instructions and allow the recommended contact time.
Use a non-scratch sponge or soft brush to loosen the residue. Work in small sections rather than covering the entire floor with cleaning solution.
Rinse thoroughly when required. Grease and cleaner residue can make floors slippery, so do not leave a film behind.
If the tiles are natural stone, confirm that the degreaser is approved for that material. Some general-purpose products may contain ingredients that damage sensitive stone finishes.
For regular maintenance, wipe cooking splashes soon after they occur. This prevents oil from accumulating into a difficult layer that requires stronger cleaning.
5. Restore the Appearance of Dirty Grout Lines
Grout can become darker than the surrounding tiles because it absorbs dirt, soap residue and moisture. Its porous nature makes it harder to clean than a smooth tile surface.
Begin by removing loose dirt from the grout lines. Then apply a grout-compatible cleaner, following the label’s instructions. Use a soft-bristled nylon brush to work along the joints.
An old toothbrush can help with narrow lines, but avoid stiff metal brushes or aggressive scrubbing. These can scratch nearby tiles or damage the grout.
The American Cleaning Institute recommends an alkaline cleaner for many cement-based grout-cleaning situations because acidic cleaners can gradually damage cement grout. Always check the cleaner’s suitability for your particular grout and tile.
Bicarbonate of soda mixed with a little water is sometimes used as a mild paste for spot cleaning, but test it first and avoid abrasive scrubbing. Rinse away residue and allow the grout to dry.
Do not assume that every dark grout line is simply dirty. If the discolouration returns quickly, moisture may be entering through a leak, poor ventilation or damaged grout.
6. Remove Soap Residue From Bathroom Tiles
Bathroom tiles often develop a cloudy film from soap, shampoo, body oils and minerals in water. The build-up can make glossy surfaces appear dull.
Use a bathroom cleaner that is compatible with the tile material. Apply it as directed and allow it to work for the stated period. Wipe with a soft sponge, rinse thoroughly and dry the surface.
For glass shower screens and compatible glazed tiles, a suitable squeegee after bathing can reduce water spots and soap residue. Improve ventilation by opening a window or running an extractor fan where available.
Avoid using vinegar or acidic descalers on marble, limestone or other acid-sensitive stone. These products may cause etching that looks like a permanent dull patch rather than ordinary dirt.
If limescale is present, choose a product specifically approved for the surface. Never assume that a strong toilet cleaner is safe for every bathroom tile.
7. Treat Mould and Persistent Dark Spots Carefully
Dark spots on bathroom grout may be mould, but not every dark stain has the same cause. Dirt, old sealant, water damage and deteriorating grout can produce similar appearances.
First, improve ventilation and address the source of moisture. Check for leaking pipes, damaged seals, blocked drainage and water collecting around the shower or bathtub.
For small areas of surface mould, use a suitable product labelled for the affected surface and follow its instructions. Wear protective equipment where directed and ventilate the room.
If the affected area is extensive, keeps returning or involves damaged building materials, seek professional advice. Cleaning the visible stain without correcting the moisture source is unlikely to provide a lasting result.
Do not mix bleach with vinegar, ammonia, toilet cleaners or other cleaning products. These combinations can release dangerous gases. The CDC advises using bleach only according to its instructions and never combining it with other cleaners or disinfectants.
8. Know When to Use a Professional Cleaner
Some tile problems require more than household cleaning. Large areas of deeply embedded dirt, neglected grout, damaged natural stone and stubborn stains may need specialist equipment or products.
A professional cleaner can assess the tile type, grout condition and likely cause of discolouration. They may also recommend steam cleaning, specialised grout treatment or resealing where appropriate.
Before hiring a service, ask what products and equipment they intend to use. Confirm that the method suits your tiles and grout. Request a small test area if you are concerned about colour changes or surface damage.
If grout is crumbling, missing or separating from the tiles, ask whether repair or replacement is necessary. Cleaning cannot restore material that has physically deteriorated.
Likewise, loose tiles may indicate an installation or moisture problem. Repeated scrubbing will not fix the underlying issue.
9. Protect the Results After Cleaning
Once tiles and grout look better, simple habits can help keep them that way.
- Sweep or vacuum regularly to remove abrasive dust and grit.
- Wipe spills promptly, especially cooking oil and coloured liquids.
- Use suitable mats at entrances to reduce dirt brought indoors.
- Clean bathroom surfaces regularly to prevent soap residue from building up.
- Dry wet areas and improve ventilation after bathing.
- Use compatible cleaners rather than switching between strong chemicals.
- Inspect grout and sealant for cracks or gaps.
- Repair leaks and drainage problems quickly.
Some cement-based grout may benefit from a suitable grout sealer after cleaning and complete drying. However, not every grout type requires the same treatment. Check the grout manufacturer’s instructions before applying a sealant.
A sealer can help reduce staining, but it is not a substitute for routine cleaning or proper waterproofing. It also cannot repair damaged grout.
10. Common Tile-Cleaning Mistakes That Cause Damage
Trying to make tiles look brand new can sometimes create more problems than the original dirt.
Using acidic cleaners on sensitive stone: Vinegar and some descalers can etch marble and limestone. Check the surface before choosing a cleaner.
Scrubbing with metal brushes: Hard bristles and abrasive tools can scratch finishes or remove grout. Use a suitable soft brush.
Applying too much detergent: Excess cleaner can leave a film that attracts dirt and makes floors slippery. Follow dilution instructions.
Mixing household chemicals: Combining bleach with vinegar, ammonia or other cleaners can produce dangerous fumes. Use one product at a time and follow its label.
Ignoring ventilation: Damp bathrooms encourage recurring moisture problems. Improve airflow and investigate leaks.
Using steam without checking suitability: Heat and moisture may damage some tiles, grout, sealants or installations. Follow manufacturer guidance before using a steam cleaner.
Keep Your Tiles Looking Good With a Consistent Routine
Restoring tiles and grout does not require the strongest cleaner in the shop. It requires the right method for the material, careful preparation and regular maintenance.
Identify your tile and grout, remove loose dirt, select a compatible cleaner and scrub gently. Rinse and dry properly, then address any moisture problem that may be causing stains to return.
Most importantly, treat cleaning and repair as different tasks. A dirty grout line may respond to careful cleaning, but cracked grout, loose tiles and persistent water damage need proper attention. With the right approach, you can improve the appearance of your floors and walls without damaging the surfaces you are trying to protect.
Frequently Asked Questions
1. What is the best cleaner for dirty tile grout?
The best option depends on the grout and tile material. A grout-compatible cleaner is a sensible starting point. For many cement-based grouts, an alkaline cleaner may be more suitable than an acidic product. Test a small area and follow the manufacturer’s instructions.
2. Can I use vinegar to clean tile and grout?
Vinegar may be suitable for some compatible surfaces, but it can damage cement-based grout and acid-sensitive natural stone such as marble and limestone. Check the tile and grout manufacturer’s recommendations before using it.
3. Can I mix bleach with vinegar to remove stubborn stains?
No. Never mix bleach with vinegar or other cleaning products. The combination can release dangerous gases. Use one suitable product at a time, follow its instructions and ventilate the area.
4. How do I make bathroom grout look white again?
Remove surface dirt with a compatible grout cleaner and soft brush, rinse as directed and dry the area. If the grout remains discoloured or the staining keeps returning, investigate moisture, mould or grout deterioration instead of repeatedly using stronger chemicals.
5. When should I replace grout instead of cleaning it?
Consider repair or replacement when grout is cracked, crumbling, missing or separating from the tiles. Persistent dampness, leaks and loose tiles also require investigation because cleaning alone will not correct the underlying problem.
